

Quick Answer
This SFM lighting guide comes down to one idea: your lights sit on top of the map’s baked lighting. Lower the camera’s toneMapScale to dim the base, then build three-point lighting with a key light for shape, a fill at about half its intensity with shadows off, and a rim light behind the subject. Keep shadowed lights within budget.
Good lighting separates a flat Source Filmmaker render from a shot that feels like cinema. This SFM lighting guide explains how lights behave in the engine, which sliders matter, and how to build clean three-point setups quickly.
You will also learn how shadows are limited, why volumetric light looks grainy until you raise your samples, and how color choices change mood. Every setting named here comes from Valve documentation or established community answers.
The guide assumes SFM already runs on your PC. If it does not, follow our guide to install Source Filmmaker on Windows first, then load a map and a character before adding any lights.
How Lighting Works in Source Filmmaker
Every SFM light is a projected texture light, which behaves like a spotlight with a cone, a field of view and a texture pushed through it. That design lets one light cast real dynamic shadows onto models.
When you open a map, SFM uses the game’s native lighting first. That map lighting is baked into the level, so you cannot dim it directly. Your own lights sit on top of it and add brightness.
SFM also has no native global ambient light. To darken the whole frame, select the camera’s animation set and lower its toneMapScale slider, as the Valve lighting page describes.
How to Add a Light in SFM
The documented method uses the Animation Set Editor, the panel that lists every model, camera and light in your shot. Each light gets its own animation set, so you can key and adjust it like any other element.
- Open the Animation Set Editor.
- Click the plus button at the top of the panel.
- Choose Create Animation Set for New Light.
- Move the light with the translate manipulator and aim it with rotation.
- Press Alt+V to center the manipulator on screen when it drifts out of view.
For a faster start, select a joint control, right-click, open the Dag Utilities Menu and choose create_lights. SFM builds four lights named keyLight, bounceLight, fillLight and rimLight inside a single lightKit animation set.
The kit is a template rather than a finished look. Each light still needs its own intensity, color and position, and each one casts shadows by default, which quickly eats into your shadowed light budget.
Key SFM Light Properties Explained
Select a light and its sliders appear in the Animation Set Editor. Right-click any slider and choose Remap Slider Ranges when you need values beyond the default limits, such as a stronger volumetric effect.
| Property | What it controls | Typical use |
|---|---|---|
| Intensity | Overall light strength | Set the key brighter than the fill |
| Color sliders | Red, green and blue tint | Warm practicals, cool moonlight |
| FOV | Width of the light cone | Narrow for sharp shadows, wide for coverage |
| Constant, linear, quadratic attenuation | How light fades with distance | Soft or rapid falloff around a subject |
| minDistance, maxDistance, farZ | Where the light starts and stops | Stop light spilling into the background |
| Radius | Light size per render sample | Soft shadow edges |
| shadowFilterSize | Blur on shadow edges | Crisp or diffused shadows |
| volumetricIntensity | Strength of visible beams | God rays and haze |
Intensity, Attenuation and Distance
A community breakdown on the Steam forums gives the brightness formula: intensity multiplied by constant attenuation, plus linear attenuation divided by distance, plus quadratic attenuation divided by distance squared. Each term shapes falloff differently.
Constant attenuation lights everything equally, no matter how far away. Linear attenuation fades gently, while quadratic attenuation drops quickly and behaves most like a real bulb. Raising only quadratic attenuation looks similar to raising intensity.
The maxDistance and farZ values set how far the light reaches. Pull them in when a lamp should light a desk but not the far wall, and push them out when a sunlight source sits far away.
FOV, Gobo Textures and Radius
Change a light’s field of view with the mouse wheel or its FOV sliders. A narrow cone concentrates the shadow map into a small area, which gives sharper shadows than one wide light stretched across the map.
Each light projects a gobo texture, which shapes its pattern. SFM ships with a flat square texture for even, rectangular coverage, and custom gobos can mimic window frames, leaves or blinds when you need patterned light.
The Radius slider moves the light slightly between render samples, simulating a larger source. Raise it a quarter or half of its range for softer shadows, but remember it only shows with progressive refinement samples active.
Three-Point Lighting in SFM Step by Step
Three-point lighting uses a key light for shape, a fill light to open shadows, and a rim light to separate the subject from the background. It is the most reliable base for character shots and posters.
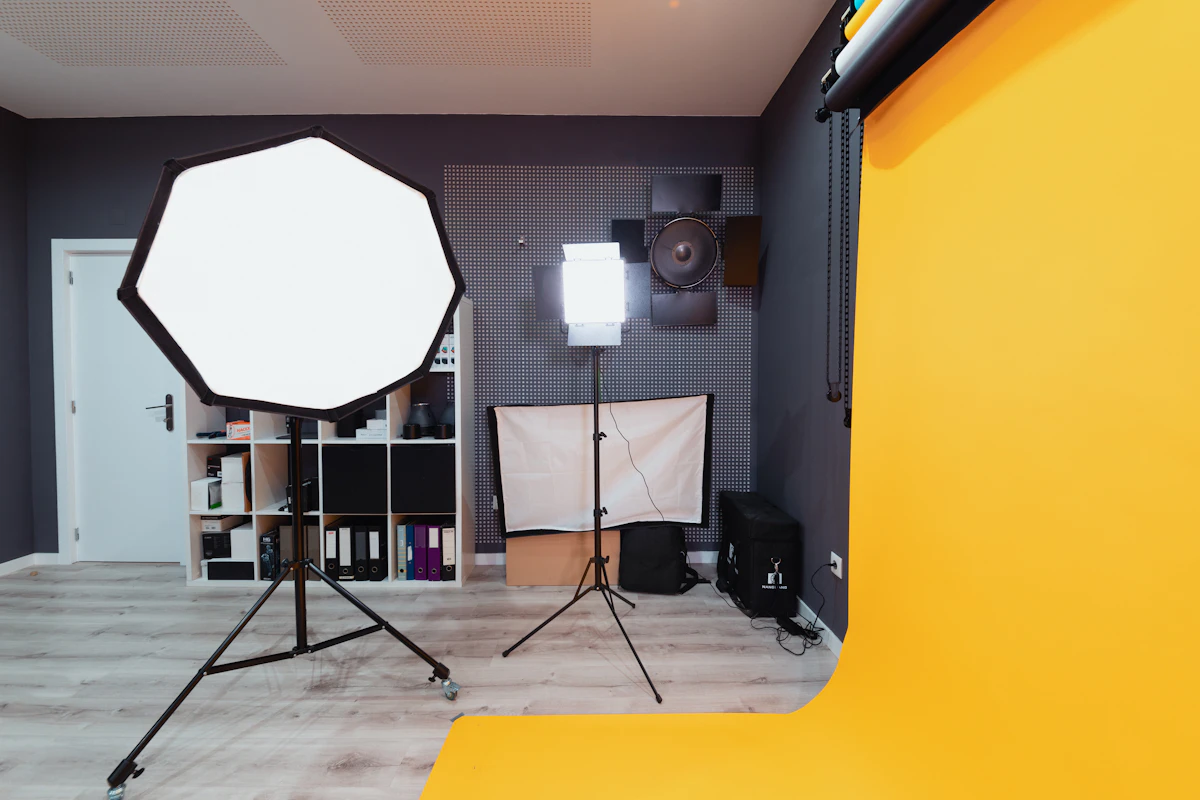
A common convention is a key-to-fill ratio near 2:1 for friendly, even portraits and 4:1 or higher for dramatic contrast. Judge the ratio by eye in the viewport rather than chasing exact slider numbers.
- Lower the camera’s toneMapScale until the baked map lighting reads as a dim base.
- Add the key light and place it about 45 degrees to one side of the camera, slightly above the subject’s eye line.
- Narrow the key’s FOV so the cone just covers the character, then raise intensity until the face reads clearly.
- Add the fill light on the opposite side, close to camera height, at roughly half the key’s intensity.
- Right-click the fill and disable its shadows, so it softens the key’s shadows without adding a second set.
- Add the rim light behind the subject, opposite the camera, aimed at the head and shoulders to draw a bright edge.
- Drag a character joint control onto the light kit’s animation set, move the playhead and apply the Playhead preset to lock the lights to the character.
Check each light alone by setting the other two to zero intensity, then bring them back one by one. This shows exactly what each light adds and exposes stray shadows before you render.
SFM Shadows: Quality, Limits and Fixes
Shadow Map Resolution
Shadow detail depends on the shadow map size, set by the -sfm_shadowmapres launch option. The default is 2048, and accepted values are 1024, 2048, 4096 and 8192.
Add the option in Steam under the SFM Properties launch options, then restart the program. It cannot change while SFM is running, so set it before the session where you plan your final render.
Higher values cost GPU memory and viewport speed. Community users suggest 4096 for 1080p work, while 8192 suits detailed close-ups on capable hardware.
The Eight Shadowed Light Limit
Valve’s documentation states that only eight lights can cast shadows in one shot. Plain Source usually supports a single projected texture, so eight is already generous, and no launch option raises it.
Shadows are enabled by default on every new light. Right-click a light’s animation set and switch shadows off on fills, bounce lights, screen glows and any light hidden behind other geometry.
Plan your shadowed lights like a budget. Give them to keys, rims and practical sources that viewers expect to cast shadows, and let unshadowed lights handle color, bounce and general brightness.
Fixing Blocky, Pixelated or Stretched Shadows
Pixelated edges usually mean shadowFilterSize is set too low for your shadow map resolution. Community advice puts a practical minimum near 0.02, with higher values producing softer, blurrier edges on the same light.
Blurry, stretched shadows come from a wide FOV or a light placed far away. Narrow the cone, move the light closer to the subject, and the same shadow map covers less space with more detail.
Streaks or dirty patches also improve with more render samples. Raising depth of field samples in Render Settings averages each shadow over many passes, smoothing artifacts seen in the viewport preview.
Volumetric Lighting, Fog and God Rays
Volumetric light makes the beam itself visible, as if the air holds dust or haze. Right-click the light’s animation set, enable Volumetrics, then adjust the volumetricIntensity slider to control how strong the beam appears.
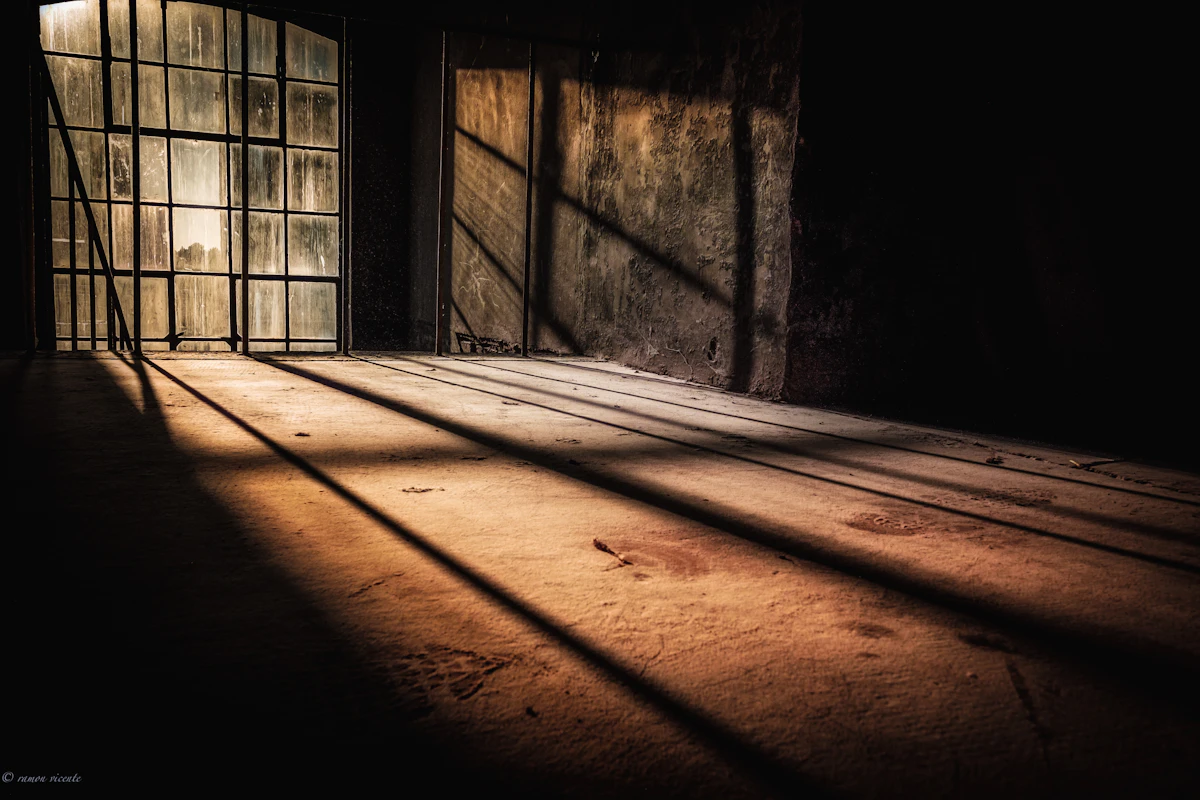
For light shafts that do not brighten the room, set the light’s intensity very low. Then remap the volumetricIntensity slider to a higher maximum and push it up until the rays read clearly.
Volumetrics are demanding. Integrated graphics may show thin white lines instead of beams, so on weak hardware try console fog with fog_override 1, then fog_start, fog_end, fog_maxdensity and fog_color.
Volumetrics, Progressive Refinement and Depth of Field
Volumetric beams look grainy in the viewport because SFM renders them as sampled planes. Progressive refinement averages many samples per frame, which turns that grain into smooth, believable haze.
Valve notes that depth of field sampling affects lights, cast shadows and ambient occlusion, not only focus blur. Open Render Settings by right-clicking the viewport, then raise depth of field samples for cleaner volumetrics.
Keep the camera still while samples build. Lowering the light’s far offset, or farZ, toward the camera also packs volumetric planes closer together, which reduces visible banding inside long beams.
Using Color Temperature in SFM
SFM lights have no Kelvin field, so you set color temperature with the red, green and blue sliders. Warm light leans orange and yellow, while cool light leans toward blue and cyan.
Film crews describe tungsten bulbs as about 3200K and daylight as about 5600K. Use warm values for lamps, fire and sunset, and cooler values for moonlight, screens and overcast skies.
Contrast between temperatures adds depth. A warm key with a cool rim, or a cool fill against a warm practical lamp, separates planes in the frame more clearly than brightness differences alone.
Practical SFM Lighting Recipes
Portrait Lighting
Start with the three-point steps above. Use a narrow, slightly warm key at 45 degrees, an unshadowed neutral fill near camera, and a cooler rim aimed at the hair to separate it from the background.
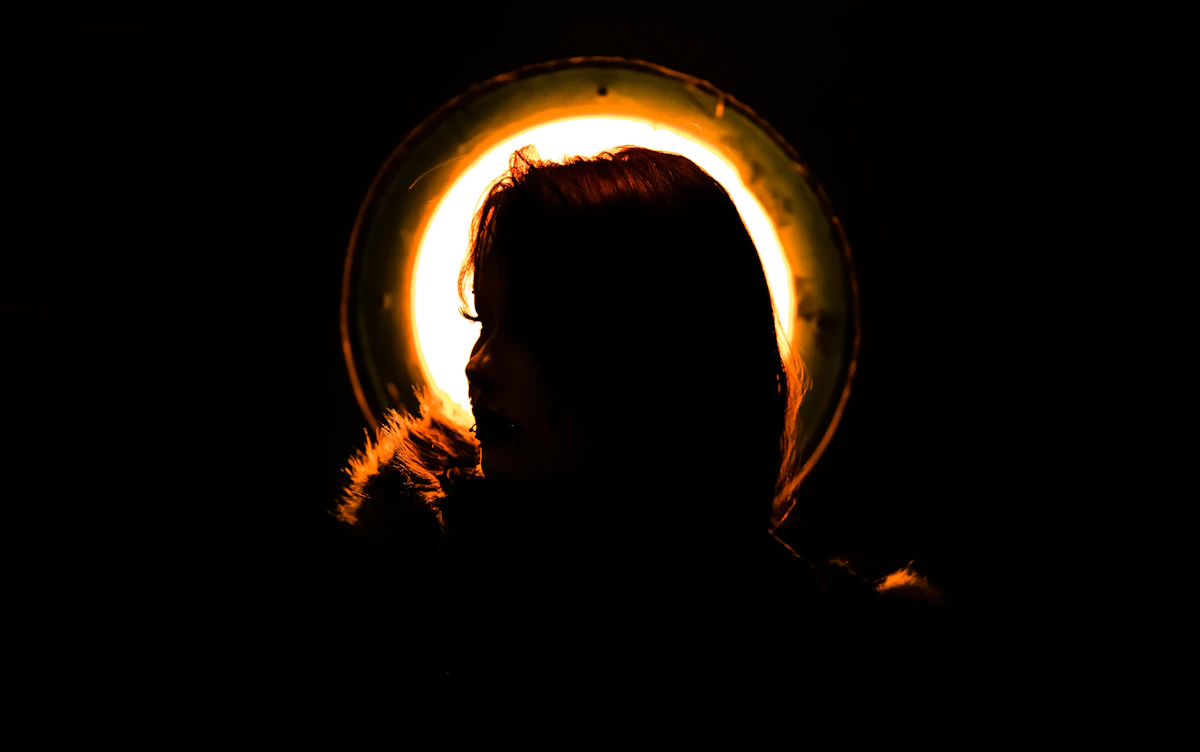
Raise the key’s Radius moderately for softer shadow edges under the nose and chin. Keep shadowFilterSize modest, so the face still shows shape without hard, distracting lines across the cheek.
Keep the background darker than the face. On a bright map, lower toneMapScale and let the key do the work, which keeps attention on the eyes.
Night Scene
Lower toneMapScale until the baked map lighting fades. Add a cool blue key placed far away with a wide FOV, so it behaves like moonlight that covers the whole shot with soft, long shadows.
Add warm practical lights near street lamps, windows or screens. Use quadratic attenuation and a short maxDistance on each one, so pools of light stay small and the darkness between them survives.
A faint volumetric beam from one lamp adds atmosphere. Keep volumetricIntensity low, because heavy haze in a night scene flattens contrast and makes the frame look gray rather than dark.
Horror Lighting
Horror relies on what viewers cannot see. Place a single hard key below the face to create unnatural underlighting, and keep the shadowFilterSize low so shadows stretch upward with crisp edges.
Skip the fill or keep it extremely dim. A thin, cold rim can outline a figure in the background, while the console fog commands add depth that swallows the far side of the room.
For flicker, keyframe the intensity slider at irregular intervals in the Graph Editor. Short, uneven dips read as a failing bulb, while regular pulses feel mechanical and break the tension quickly.
Sunset Lighting
Place an orange key far from the scene at a low angle, nearly level with the characters. Widen the FOV until the light frustum covers your shot, and long shadows will stretch across the ground.
Balance it with a dim, blue fill from the opposite side to represent the sky. That warm and cool split gives the classic golden hour look without washing the faces out.
Enable volumetrics on the sun when it passes windows, trees or doorways. Gaps in that geometry break the beam into god rays, and high depth of field samples keep those rays smooth.
Common SFM Lighting Problems and Fixes
Most lighting issues trace back to the shadow limit, shadow map size or low sample counts. Check this table before rebuilding a scene.
| Problem | Likely cause | Fix |
|---|---|---|
| Scene too bright to light | Baked map lighting adds to every light | Lower toneMapScale and use dimmer lights |
| New light casts no shadow | Eight shadowed lights already in use | Disable shadows on fills and minor lights |
| Pixelated shadow edges | shadowFilterSize too low for the shadow map | Raise it toward 0.02 or use -sfm_shadowmapres 4096 |
| Soft, stretched shadows | Wide FOV or distant light | Narrow the FOV and move the light closer |
| Grainy or banded volumetrics | Too few render samples | Raise depth of field samples and lower farZ |
| White lines instead of beams | Weak or integrated GPU | Use console fog instead of volumetrics |
| Light cuts off abruptly | FOV edge or maxDistance reached | Widen the cone or raise maxDistance |
| Frustum lines clutter the viewport | Light frustum display is on | Right-click the light and disable the frustum |
Performance Tips for Lit SFM Scenes
Heavy lighting slows both the viewport and the final export. These habits keep scenes responsive, especially with large maps or detailed models from the Steam Workshop.
- Disable shadows on every light that does not need them.
- Use 64 depth of field samples as a middle ground, since Valve notes higher counts double render time.
- Turn off motion blur and ambient occlusion while you light, then enable them for the final render.
- Set camera aperture to 0 when you do not need depth of field.
- Raise -sfm_shadowmapres only for final renders.
Frequently Asked Questions
How Many Lights Can Cast Shadows in SFM?
Eight. Valve’s documentation states that only eight lights can cast shadows at once. You can add more lights, but extra ones need shadows disabled to work properly.
Does Source Filmmaker Have an Ambient Light?
No native global ambient light exists. Scenes use the map’s baked lighting, which you can only scale with the camera’s toneMapScale. A distant, wide spotlight can imitate ambient sun or moonlight.
Why Do My Volumetric Lights Look Grainy?
The viewport shows few samples. Raise depth of field samples in Render Settings, keep the camera still, and lower farZ toward the camera for smoother, denser beams.
How Do I Make Shadows Softer in SFM?
Raise the light’s Radius slider and render with progressive refinement samples active. A higher shadowFilterSize also blurs edges, while a closer, larger light naturally gives softer shading.
How Do I Increase Shadow Resolution?
Add -sfm_shadowmapres with a value of 4096 or 8192 to SFM’s Steam launch options, then restart. The default is 2048, and higher values use more GPU memory.
Can I Show God Rays Without Lighting the Scene?
Yes. Set the light’s intensity very low, enable Volumetrics, then remap the volumetricIntensity slider to a higher range and raise it until the beams appear.
Final Thoughts
Strong SFM lighting comes from starting dark, building a deliberate three-point base and spending shadowed lights wisely. Next, port your own props with our Blender to SFM guide or customizing models after decompiling them with Crowbar.
6 thoughts on “SFM Lighting Guide: Shadows, Volumetrics and Three-Point Setups”