
Quick Answer
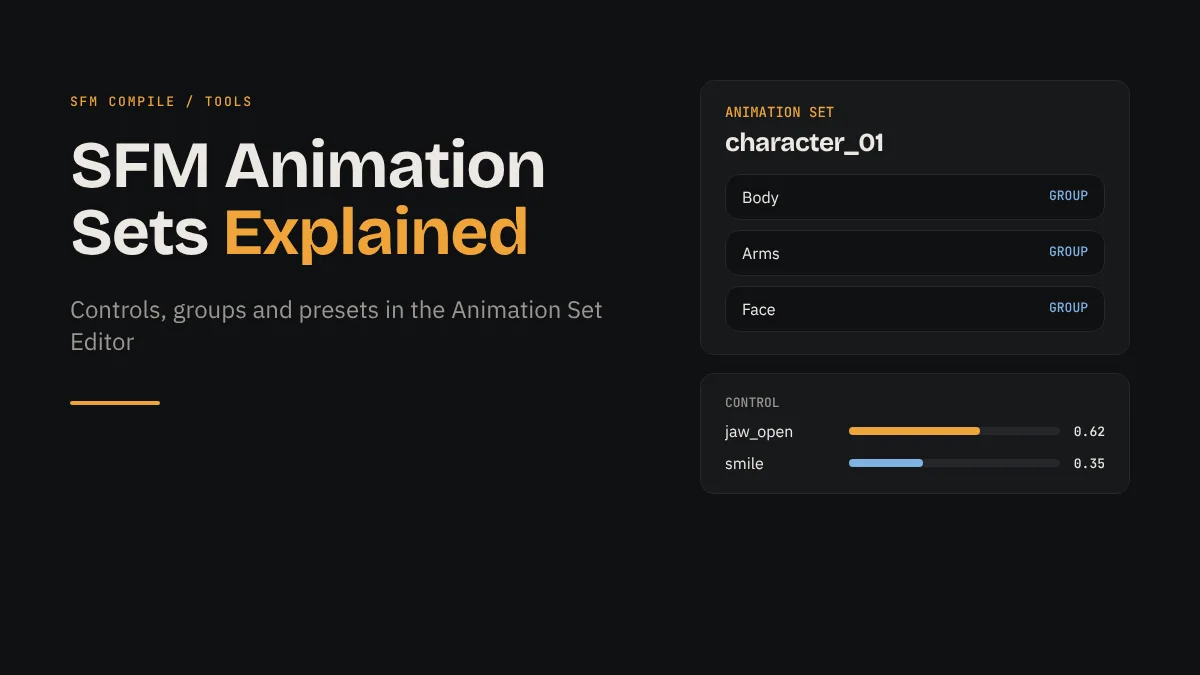
SFM animation sets are the containers Source Filmmaker creates for every model, camera and light in a shot. Each set holds controls (bone transforms and flex sliders), sorts them into control groups such as body, arms and face, and offers presets that apply or blend values in one click. You work with all of them in the Animation Set Editor.
Every pose, facial expression and camera move you create in Source Filmmaker passes through an animation set. It is the layer that sits between a raw model file and the keys on your timeline, and it decides which parts of a character you can grab, how those parts are organized, and which shortcuts you have for posing them quickly.
Many new animators skip past the Animation Set Editor and drag bones around in the viewport instead. That works for a single pose, but it falls apart once a scene has several characters, dozens of facial sliders and a deadline. This guide explains what SFM animation sets are, how controls and control groups work, how to use presets properly, and how to fix the problems that come up most often.
Add a model, camera or light to create its animation set.
The set appears in the list at the top of the Animation Set Editor.
Open the set to reveal its control groups.
Groups sort controls by body area so you can find them fast.
Select the controls you want to change.
Selection decides what every slider drag and preset affects.
Apply or blend a preset, then refine and key.
Finish the motion in the Motion Editor or Graph Editor.
What Is an Animation Set in SFM?
An animation set is the animatable version of an object in your shot. When you load a model, SFM does not animate the model file itself. It builds an animation set that exposes the model’s bones and flexes as controls, stores the values you key on those controls, and links them back to the model for rendering.
What an Animation Set Contains
A typical character animation set holds three things. First, transform controls for each bone, which carry position and rotation. Second, slider controls for flexes, which drive facial shapes and other morphs built into the model. Third, a structure of control groups that keeps those controls organized. Any presets you apply and any keys you set are stored against these controls, not against the original model on disk.
Which Objects Get Animation Sets
Characters are the obvious case, but they are not the only one. Cameras, lights, props and particle systems also appear as animation sets, each with controls that suit the object. A camera exposes values such as field of view and focal distance, while a light exposes values such as color and intensity. This is why the same workflow you use for posing a character also works for animating a light flicker or a slow zoom.

Finding Your Way Around the Animation Set Editor
The Animation Set Editor is the panel where every animation set in the current shot lives. In the default layout it sits on the left side of the window, beside the viewport. Valve documents its layout in the Animation Set Editor page on the Valve Developer Community, and the summary below covers what matters day to day.
The Animation Set List
The upper part of the editor lists every animation set in the active shot. This is where you add new objects, rename sets so you can tell two copies of the same character apart, and right-click a set for options such as selecting it, rigging it or replacing its model. Renaming early pays off: hero_main and hero_background are far easier to manage than two identical model names.
The Presets Panel and the Controls Panel
Below the list, the editor shows two working areas. The Presets panel holds buttons for procedural presets, facial presets and any presets you have saved. The Controls panel shows the control groups of the selected set, and inside them the individual controls with their sliders. You spend most of your posing time in the Controls panel and reach for the Presets panel when you want a fast starting point.
Selection Drives Everything
The single most important rule in this editor is that actions apply to the current selection. Select a whole animation set and a preset touches every control in it. Select one control group and only that group changes. Select a single slider and only that slider moves. Most surprises, such as a smile preset that also resets the arms, come from forgetting what was selected.
Controls: Transforms, Sliders and Flexes
Controls are the smallest unit you animate, and each type suits a different editor and preset.
Transform Controls for Bones
Each bone in a model becomes a transform control with position and rotation values. You usually manipulate these in the viewport with the move and rotate tools, and the values update in the Controls panel as you work. On rigged characters, extra controls such as IK handles also appear here. If your character is unrigged and posing limbs feels slow, our SFM rigging guide shows how to add IK controls with the built-in rig script.
Slider Controls for Flexes
Flex controls appear as horizontal sliders, usually ranging from 0 to 1. They drive facial shapes such as jaw opening, brow raises and lip corners, plus any other morphs the model author included. Dragging a slider sets the value directly. Some facial controls are paired for the left and right side of the face, which lets you build asymmetric expressions. For a deeper walkthrough of posing faces, see our guide to SFM facial animation with flexes.
Control Types at a Glance
| Control type | What it drives | Where you usually edit it | Typical presets |
|---|---|---|---|
| Bone transform | Position and rotation of a bone | Viewport, Graph Editor | Default, saved poses |
| Flex slider | Facial shapes and morphs | Controls panel sliders | Phonemes, expressions, Zero, One |
| IK and rig controls | Limb chains after rigging | Viewport handles | Saved poses |
| Camera values | Field of view, focus, depth of field | Controls panel, Graph Editor | Default |
| Light values | Color, intensity, shadow settings | Controls panel, Graph Editor | Default, Jitter for flicker |
Control Groups: Organizing Hundreds of Controls
A detailed character can expose well over a hundred controls. Control groups turn that list into folders you can open, close and select as a unit.
Default Groups and the Catch-All Group
When SFM builds an animation set, it sorts controls into groups based on bone and flex names. Models that follow common naming conventions land neatly in groups for the body, arms, legs, fingers and face. Bones with unusual names often end up in a catch-all group at the bottom of the list. If a custom model’s hair or accessory bones seem to be missing, open that catch-all group before assuming the model is broken.
Selecting, Hiding and Reorganizing Groups
Clicking a group name selects every control inside it, which is the fastest way to key a whole arm or reset the entire face. You can also hide groups you are not working on so their controls stop cluttering the panel and the viewport. Right-clicking in the Controls panel gives options for managing groups, and many animators create their own groups for things like props in a character’s hand or a set of controls they adjust together in every shot.
How Rigging Changes the Group List
Running a rig script on an animation set adds new rig controls and often changes how the groups are laid out. This is expected. If you later detach the rig, the original bone controls take over again. Save your session before applying a rig so you can return to the unrigged version if needed.
Presets: Procedural, Facial and Custom
Presets are stored values that you can push onto the selected controls in one action. They are the fastest way to reset a pose, build a mouth shape or reuse a pose you liked in an earlier shot.
Procedural Presets
Procedural presets calculate their result instead of storing a fixed pose. Default returns the selected controls to the model’s default values. Zero, Half and One set slider values to 0, 0.5 and 1. Others, such as Smooth and Jitter, operate over the time selection in the Motion Editor, smoothing out noisy motion or adding small random variation.
Facial Presets: Phonemes and Expressions
Models with a full facial setup also offer facial presets. Phoneme presets shape the mouth for specific speech sounds, and expression presets combine many sliders into a recognizable look such as a smile or a frown. Phoneme presets are the foundation of manual lip sync cleanup, which we cover step by step in the SFM lip sync tutorial.
Saving Your Own Presets
Once you have a pose or expression you like, you can save the values of the selected controls as a custom preset from the Presets panel’s right-click menu. Saved presets are tied to the controls they were made from, so a hand pose saved on one character works best on characters that share the same bone names. Keep custom presets small and focused, such as a relaxed hand or a neutral face.
Blending Instead of Applying Fully
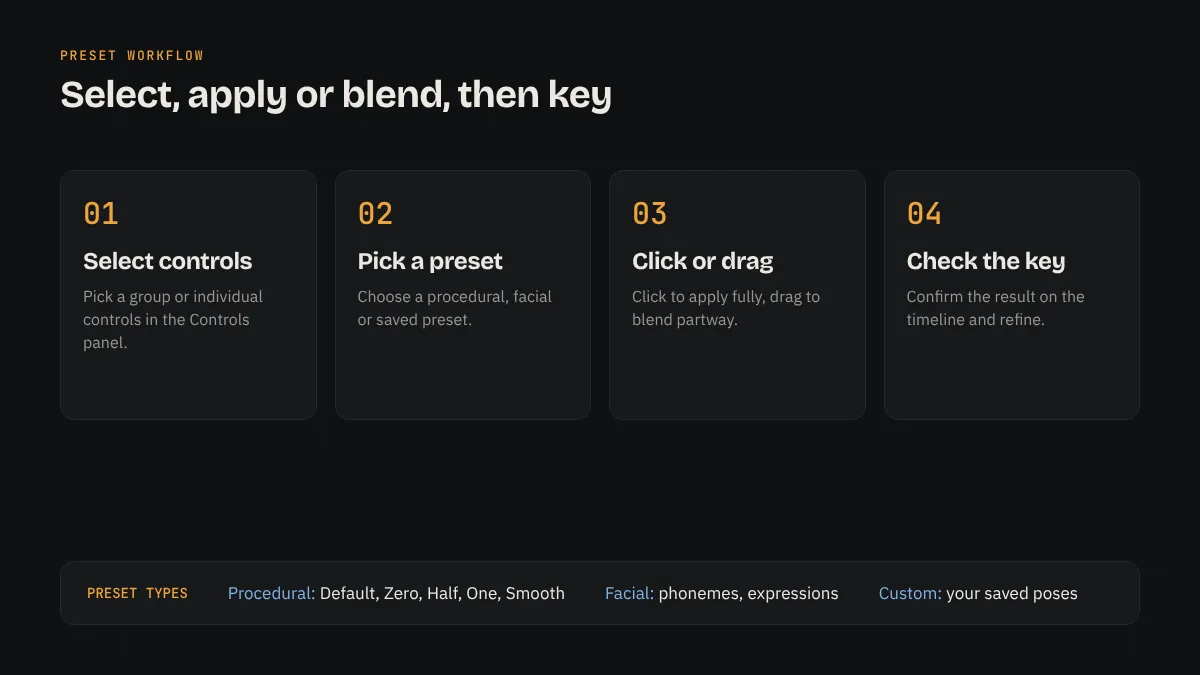
Presets do not have to be all or nothing. Clicking a preset applies it fully, while dragging across the preset button blends the current values toward the preset by a partial amount. Blending is how you get a slight smile instead of a full grin, or nudge a pose halfway back to default without losing your work.
A Practical Workflow for Posing With Animation Sets
Following the same order each time keeps your scenes tidy and your keys predictable.
Step by Step: From New Model to Keyed Pose
- Add the model to the shot and rename its animation set straight away.
- Rig the set if you need IK limbs, and save the session first.
- Select the whole set and apply the Default preset to start from a clean pose.
- Block the body pose group by group, starting with the root and spine.
- Select the face group and blend expression presets for the emotion you want.
- Check the keys on the timeline and refine timing in the Motion Editor or Graph Editor.
Where the Motion and Graph Editors Fit In
The Animation Set Editor is where you choose and pose controls. The Motion Editor and Graph Editor are where you shape how those controls change over time. The controls you select in the Animation Set Editor are the ones that appear for editing in the timeline. Our guide to the Motion Editor and Graph Editor explains that side of the process in detail.
Common Problems and How to Fix Them
Most issues with animation sets come down to selection or model setup.
A Preset Changed Controls You Did Not Expect
This almost always means more controls were selected than you intended. Undo the change, clear the selection, select only the group or sliders you want, and apply the preset again. Watch the time selection too, because procedural presets such as Smooth affect the selected range of frames, not just the current frame.
The Model Has No Face Sliders or Missing Controls
If a character shows no facial sliders, the model was most likely compiled without flexes, and no setting in SFM can add them. Check the catch-all group for bones with unusual names before assuming anything is lost. Missing or unexpected controls on custom ports usually trace back to how the model was compiled, not to the animation set itself.
Swapping a Model Without Losing Animation
SFM can replace the model behind an existing animation set, which is useful when you upgrade to a better version of a character. Animation carries over for controls whose names match between the two models. Controls that do not exist on the new model have nothing to drive, so expect to fix those parts by hand. Save a copy of the session before swapping.
Frequently Asked Questions
What is an animation set in Source Filmmaker?
An animation set is the animatable container SFM creates for each model, camera, light or effect in a shot. It exposes the object’s bones and flexes as controls, organizes them into groups, and stores the keys you set on them.
Where is the Animation Set Editor in SFM?
In the default layout it is the panel on the left side of the main window, next to the viewport. It shows the list of animation sets at the top, with the Presets and Controls panels underneath.
How do I reset a model to its default pose?
Select the animation set or the specific control group you want to reset, then apply the Default preset from the Presets panel. Only the selected controls return to their default values.
Why does my model have no facial presets?
Facial presets need flex controls to act on. If the model was compiled without flexes, it has no face sliders and the phoneme and expression presets have nothing to change.
Can I use a saved preset on a different model?
Yes, as long as the controls share the same names. A preset saved on one character applies cleanly to another character with matching bone or flex names, and partially or not at all when names differ.
What is the difference between a control group and a preset?
A control group is a way of organizing and selecting controls, such as all arm bones. A preset is a set of values you apply to whatever controls are selected. You typically select a group first, then apply a preset to it.
Final Thoughts
Make the Animation Set Editor Your Home Base
SFM animation sets are less mysterious than they first look. Each object in a shot gets a set, each set holds controls, groups keep those controls organized, and presets let you push values onto whatever you have selected. Once you treat selection as the rule that drives everything, posing becomes faster and far more predictable. Rename your sets, lean on groups and save the presets you reuse.